I. Draw the mold diagram
Before drawing the mold assembly drawing, process drawings should be prepared, and they must conform to the requirements of the part drawing and process data. Dimensions guaranteed by the next process should be marked with the words “process dimensions” on the drawing. If no further machining is performed after molding except for burr removal, then the process drawing is exactly the same as the part drawing.

It’s best to label the part number, name, material, material shrinkage rate, and drawing scale below the process drawing. Usually, the process drawing is drawn on the mold assembly drawing.
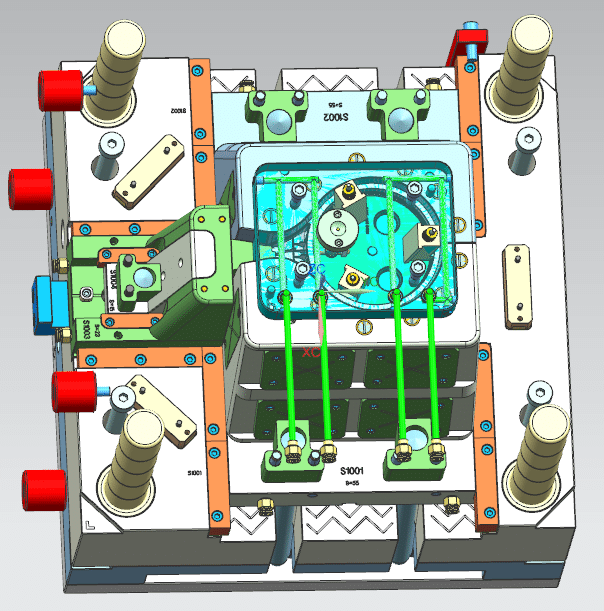
When drawing the assembly drawing, try to use a 1:1 scale. Start by drawing the cavity first, and draw the main view and other views at the same time.
The mold assembly drawing should include the following:
- Mold forming part structure
- The structural form of the gating system and the venting system.
- Parting surface and mold separation method.
- External structure and all connecting parts, positioning and guide positions.
- Specify the cavity height dimension (not mandatory, as needed) and the overall mold dimensions.
- Auxiliary tools (part removal and demolding tools, alignment tools, etc.).
- Number all parts sequentially and fill in the details sheet.
- Labeling technical requirements and usage instructions.
Technical requirements for the mold assembly drawing:
- Performance requirements for certain systems in a mold. For example, assembly requirements for the ejection system and the slide core-pulling structure.
- Requirements for mold assembly process. For example, the mating gap between the mating surfaces of the parting surface after mold assembly should not exceed 0.05mm. Requirements for the parallelism of the upper and lower surfaces of the mold, and specify the dimensions determined by assembly and the requirements for these dimensions.
- Mold usage and assembly/disassembly methods.
- Requirements for anti-oxidation treatment, mold numbering, engraving, marking, oil sealing, and storage.
- Requirements regarding trial molding and inspection.
The order of drawing part drawings from the mold assembly drawing should be: inside to outside, complex to simple, and formed parts first, then structural parts.
The requirements are as follows:
- Graphic requirements
It is essential to draw to scale, allowing for enlargement or reduction. Views should be appropriately selected, projected correctly, and arranged properly. To ensure the processing patent number is easily understood and assembly is convenient, the drawing should be as consistent as possible with the final assembly drawing, and the drawing must be clear.
Dimensioning requirements must be uniform, centralized, orderly, and complete.
The order of dimensioning is as follows: first dimension the main parts and draft angles, then dimension the mating dimensions, and finally dimension all dimensions. On drawings of non-main parts, dimension the mating dimensions first, then dimension all dimensions.
- 2. Surface roughness
Mark the most frequently used roughness in the upper right corner of the drawing, such as “the rest 3.2”. Other roughness symbols are marked on each surface of the part.
- 3. Other content
For example, the part name, mold drawing number, material grade, heat treatment and hardness requirements, surface treatment, graphic proportions, machining accuracy of free dimensions, and technical specifications must all be filled in correctly.

II. Proofreading and review of drawings
- Relationship between mold and its parts and plastic part drawings
Whether the material, hardness, dimensional accuracy, and structure of the mold and mold parts meet the requirements of the plastic part drawings.
- Plastic parts
Do the flow characteristics of the plastic material, such as shrinkage cavities, weld lines, cracks, and draft angles, affect the performance, dimensional accuracy, and surface quality of the plastic parts? Are there any shortcomings in the pattern design? Is the processing simple? Was the shrinkage rate of the molding material selected correctly?
- Molding equipment
Are the injection volume, injection pressure, and clamping force sufficient? Are there any problems with mold installation, the core of the plastic part, and demolding? Is the nozzle of the injection molding machine in proper contact with the sprue sleeve?
- mold structure
- Whether the parting line position and machining accuracy meet the requirements, whether overflow will occur, and whether the plastic part can be guaranteed to remain on the mold side with the ejector device after mold opening.
- Is the demolding method correct? Are the size, position, and quantity of the push rod and push tube appropriate? Will the push plate be stuck by the core? Will it cause scratches on the molded parts?
- Regarding mold temperature control: The power and quantity of heaters; the location, size, and quantity of the cooling medium’s flow path; and whether these are appropriate.
- The method for handling side concavities in plastic parts, whether the mechanism for removing side concavities is appropriate, such as whether the slider and push rod in the inclined guide post core-pulling mechanism interfere with each other.
- Are the location and size of the gating and venting systems appropriate?
- Design drawings
- Are the placement positions of each mold part on the assembly drawing appropriate, are they clearly represented, and are there any omissions?
- The part number, name, quantity, whether the part is internally manufactured or purchased, whether it is a standard or non-standard part, the precision of the part fitting, the correction and allowance of high-precision dimensions of the molded plastic part, and whether the material, heat treatment, surface treatment, and degree of surface finishing of the mold part are marked and clearly described.
- The working dimensions and mating dimensions of the main components and formed parts. The dimensional figures should be accurate and free from the need for conversion by the manufacturer.
- Check the view positions of all parts drawings and assembly drawings, whether the projections are correct, whether the drawing methods conform to national drafting standards, and whether any dimensions are missing.
- Verify processing performance
Are the geometry, drawing methods, and dimensions of all parts conducive to machining?
- Main working dimensions of recalculation auxiliary tools
- Professional proofreading should, in principle, follow the designer’s self-proofreading procedures; however, emphasis should be placed on structural principles, technological performance, and operational safety. When drawing, the designer must first understand the drawing, depict it according to national standards, and fill in all dimensions and technical requirements. After drawing, the designer should self-proof and sign off.
- The completed blueprint is then submitted to the designer for proofreading and signature. The usual practice is for the relevant technical personnel from the tool manufacturing unit to review, countersign, and check the manufacturability before it can be sent for printing.
- Writing manufacturing process cards
The manufacturing process cards are prepared by the technical personnel of the tool manufacturing unit, and preparations are made for the processing and manufacturing.
During the manufacturing process of mold parts, inspection should be strengthened, with a focus on dimensional accuracy. After the mold is assembled, inspectors should conduct inspections according to the mold inspection checklist, mainly checking whether the performance of the mold parts is good. Only in this way can the manufacturing quality of the mold be guaranteed.
III. Trial molding and mold repair
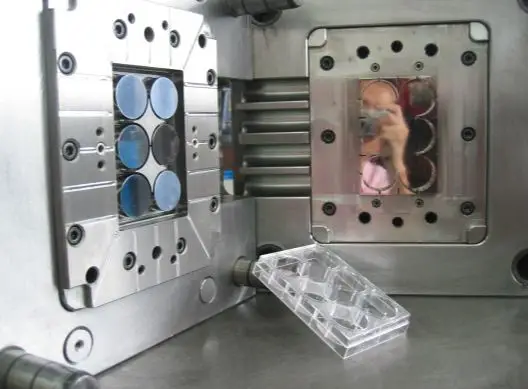
Although mold design is carried out under the expected process conditions when selecting molding materials and equipment, people’s understanding is often incomplete. Therefore, trial molding tests must be conducted after the mold is manufactured to check the quality of the molded parts. If problems are found, the mold is repaired to eliminate errors.
There are many types of defects in plastic parts, and the reasons are also very complex. There are reasons related to the mold, as well as reasons related to the process conditions, and the two often coexist.
Before repairing the mold, a detailed analysis should be conducted based on the actual situation of the defects appearing in the plastic part to identify the cause of the defects and propose remedial measures. Because molding conditions are easily changed, the general practice is to change the molding conditions first, and only consider repairing the mold when changing the molding conditions fails to solve the problem.
Repairing molds should be approached with extreme caution; no action should be taken without absolute certainty. This is because once the mold’s condition is altered, major modifications and restoration to its original state are no longer possible.
The quality of mold manufacturing depends on whether the parts are in good condition.
IV. Organize and archive data
After the mold has been tested, if it is not to be used for the time being, all mold release residue, dust, oil stains, etc. should be completely wiped off, and grease or other rust-preventive oil or rust inhibitor should be applied. Then, it should be stored in a safe place.
From the initial mold design to successful mold manufacturing and inspection, all technical documents generated during this period, such as task sheets, part drawings, technical specifications, mold assembly drawings, mold component drawings, base drawings, mold design specifications, inspection records, and mold trial and repair records, should be systematically organized, bound, numbered, and archived according to regulations. This may seem tedious, but it is extremely useful for future mold repairs and new mold design.

